How It's Made: 3D Printed Maps
A look into how we create 3D Terrain & City Maps, from start to finish.
Step 1
Sources
We source terrain and city data from a variety of different sources. This includes: digital elevation models, satellite imagery, lidar, and more.
Step 2
Testing
To ensure digital maps translate into real life, extensive testing is conducted. It is important that our maps fit perfectly in their frames, and that the printer settings are correct to certify model quality and strength.
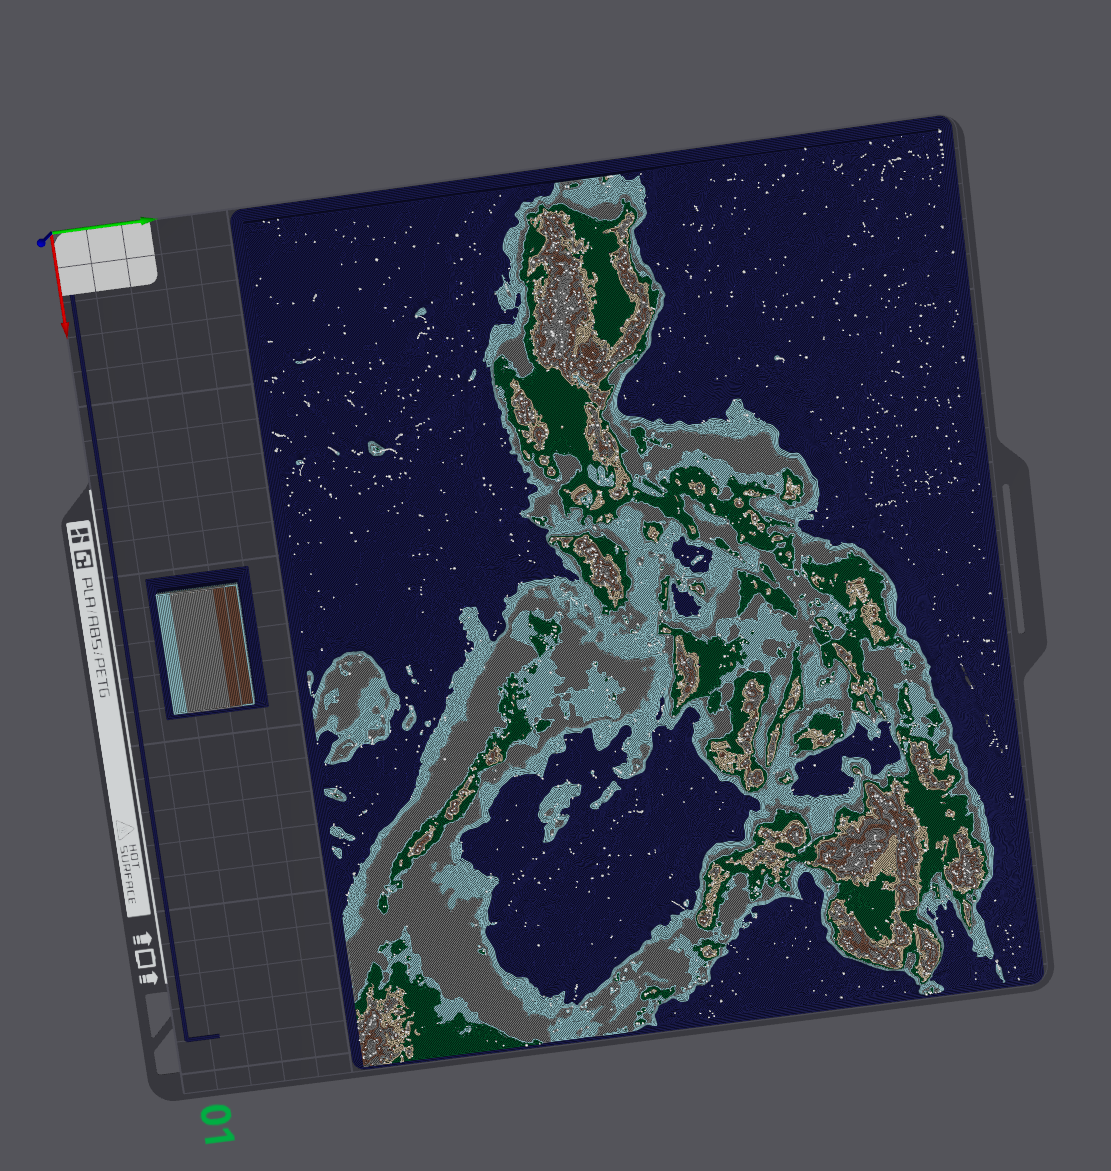
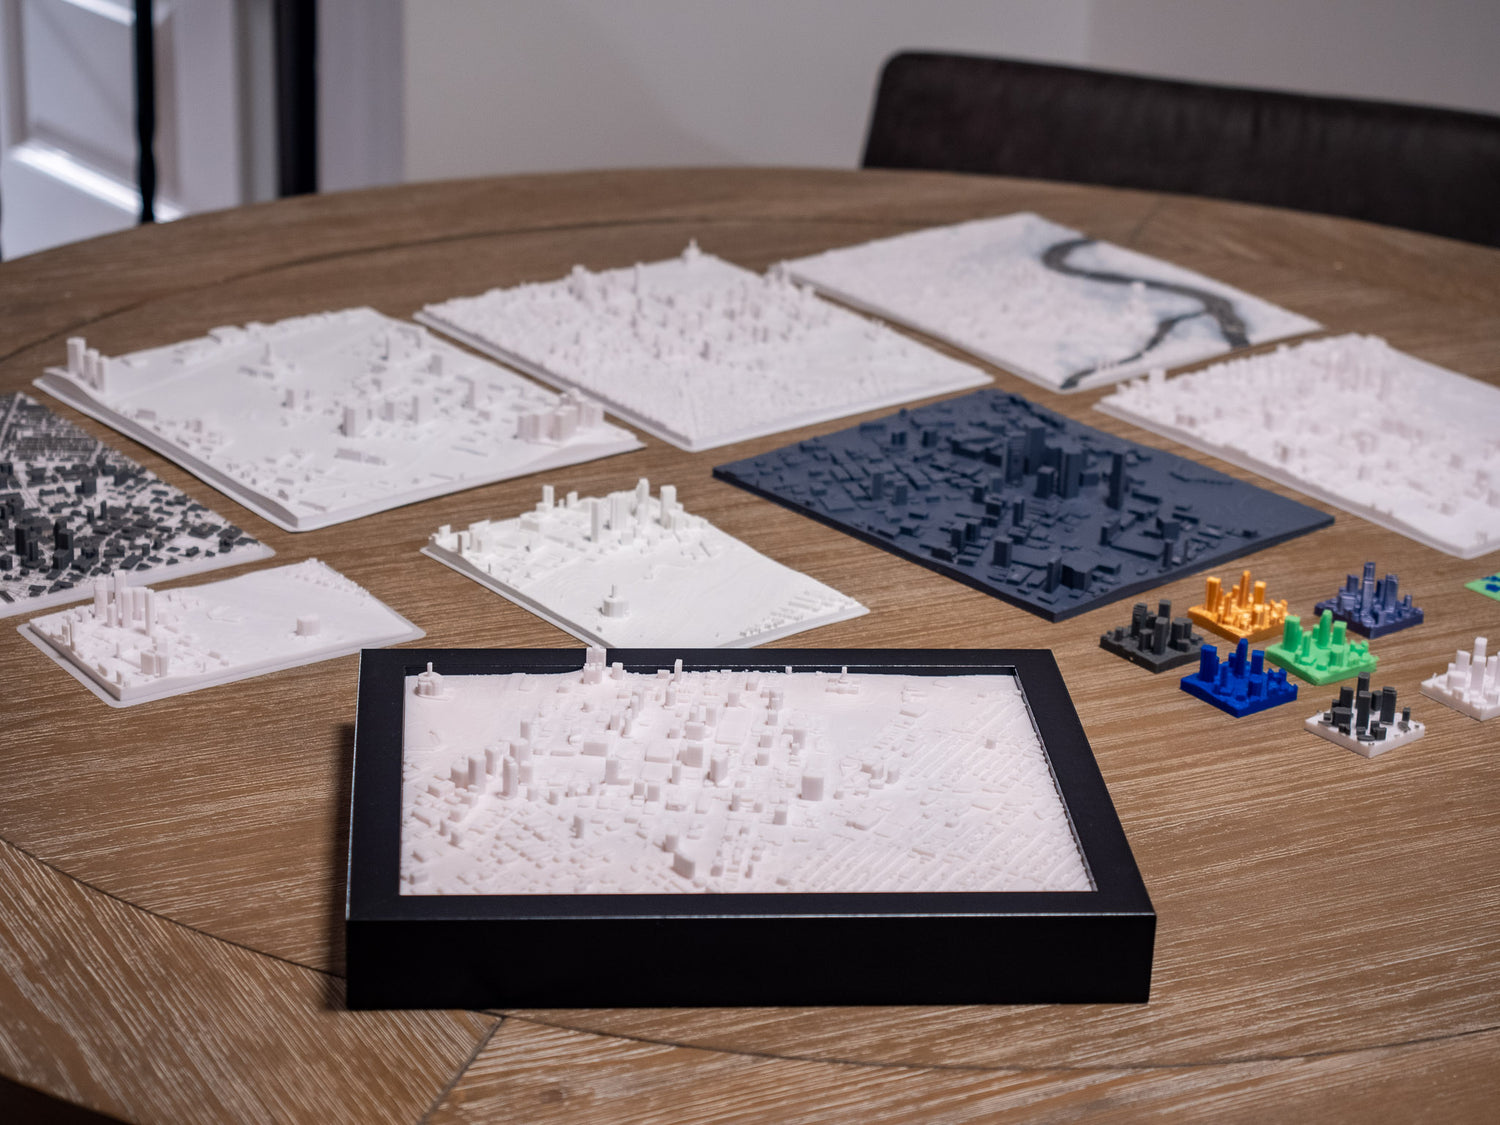
Step 3
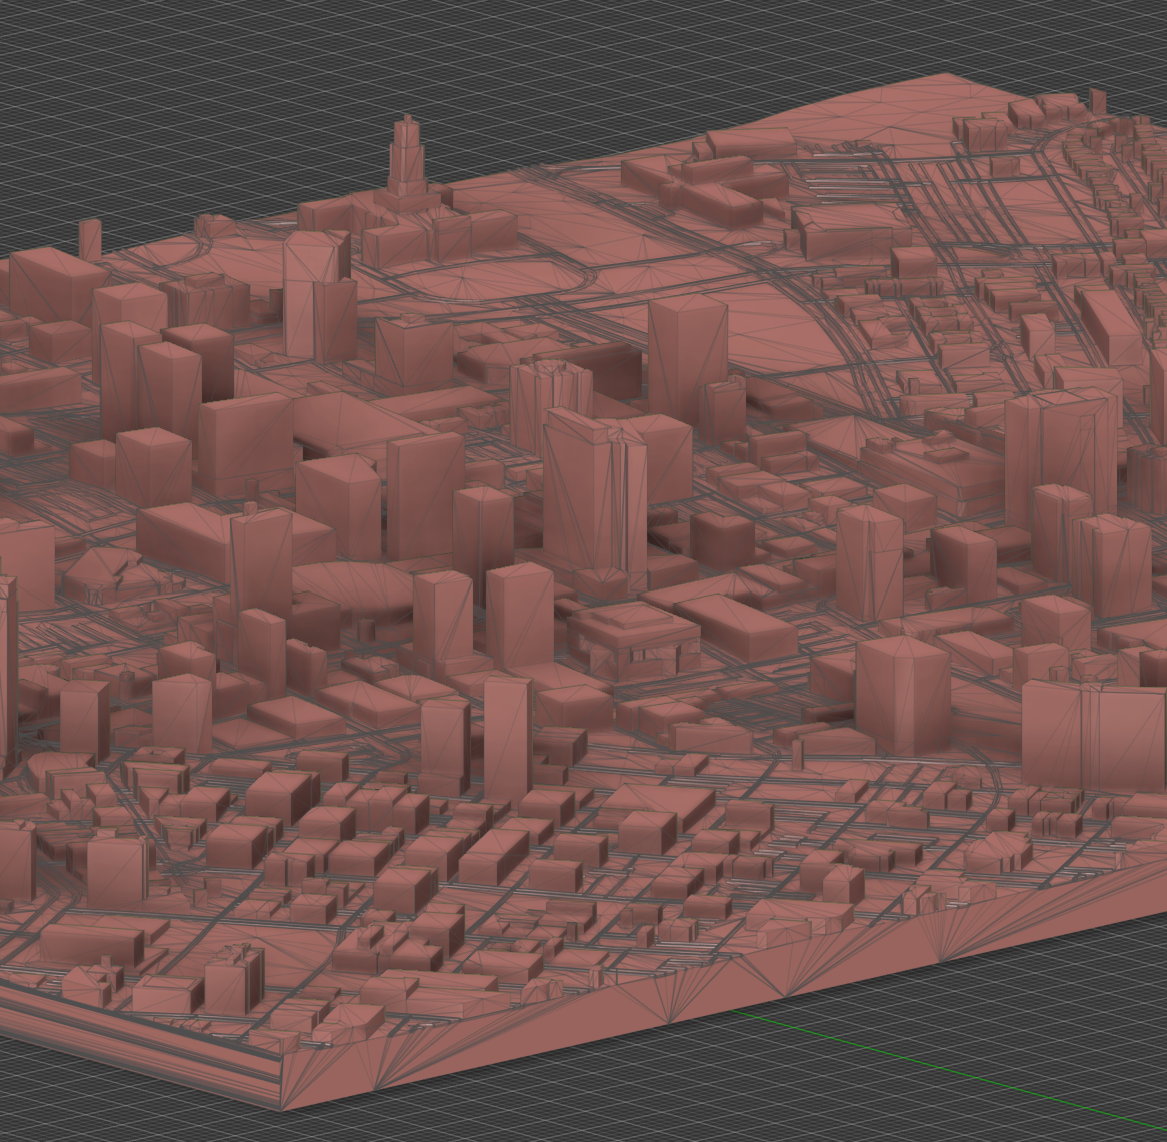
Modeling, Slicing, and Painting
The data is converted into a 3D model, adjusted, and cleaned up. Unlike most 3D prints, maps benefit from visible layer lines as they help to visualize elevation. Then the file is sliced to precise dimensions to fit our frame sizes. Finally, we digitally paint the files and assign colors to represent height values.
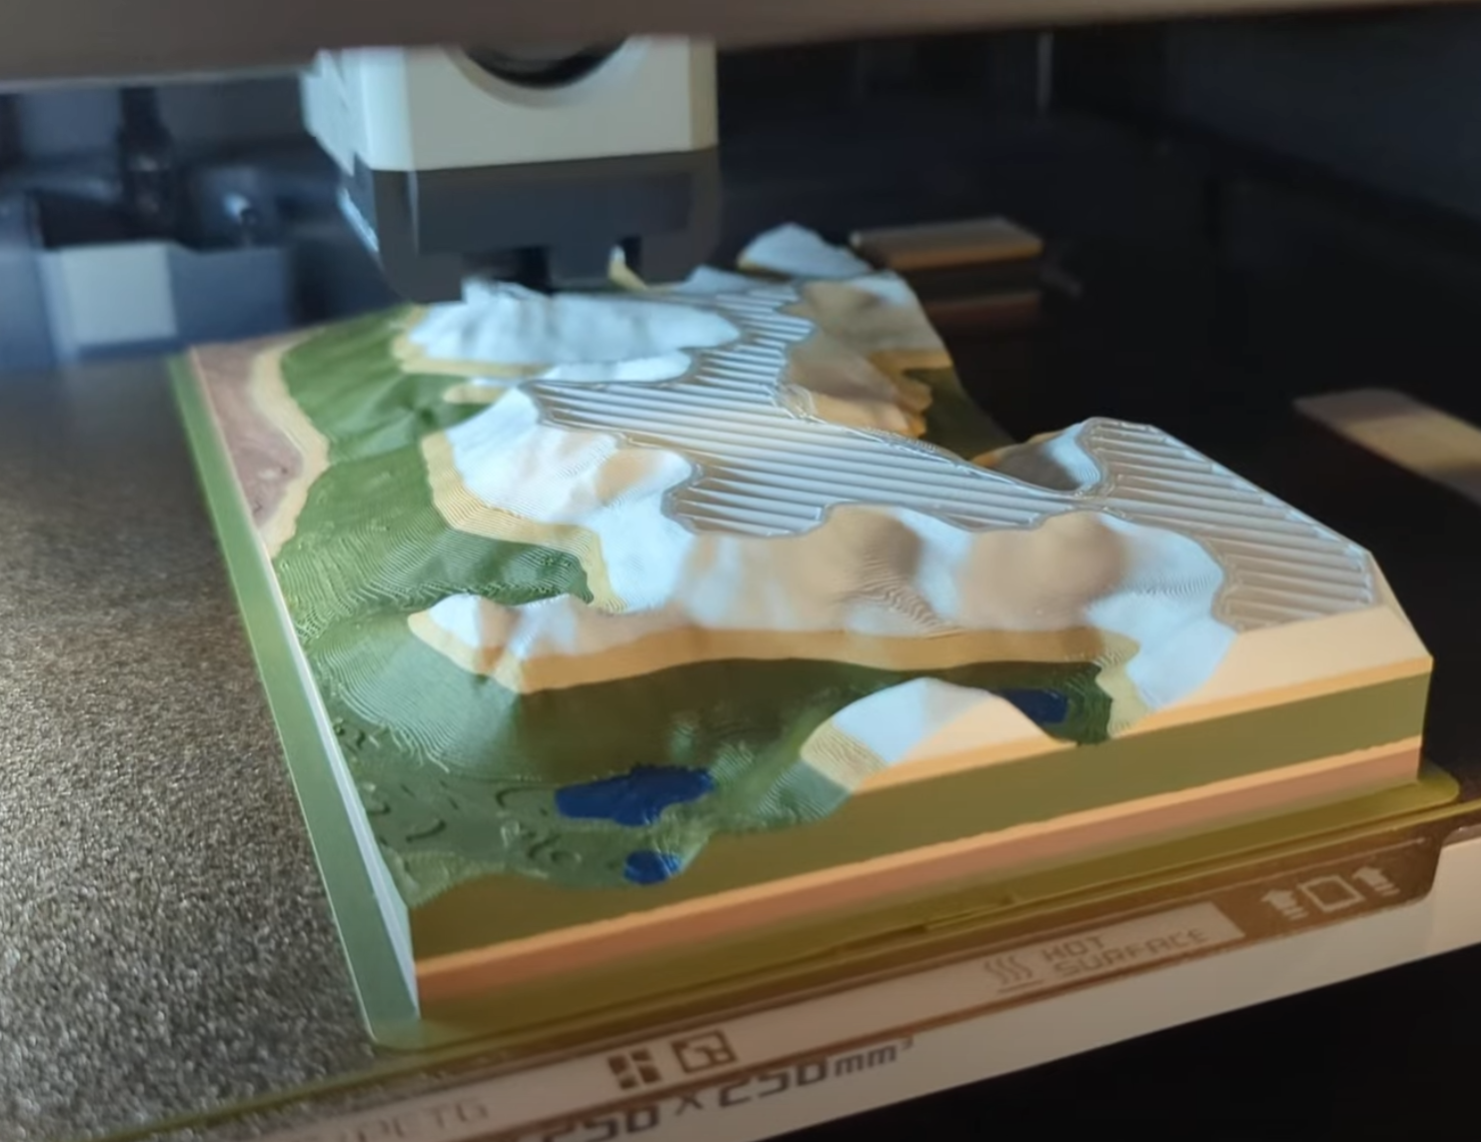
Step 4
Printing & Framing
Once the files are prepared, we print the finished maps with PLA plastic. Unlike paint, the color should not wear or fade when touched. The printed files undergo some post-processing, then are attached to high quality frames. All frames include hanging brackets pre-installed, and some include built in stands.
Our Collection
-
Model Winnipeg Sign - 3D Miniature from the Forks
Vendor:PrintsRegular price From $7.99 CADRegular priceUnit price per -
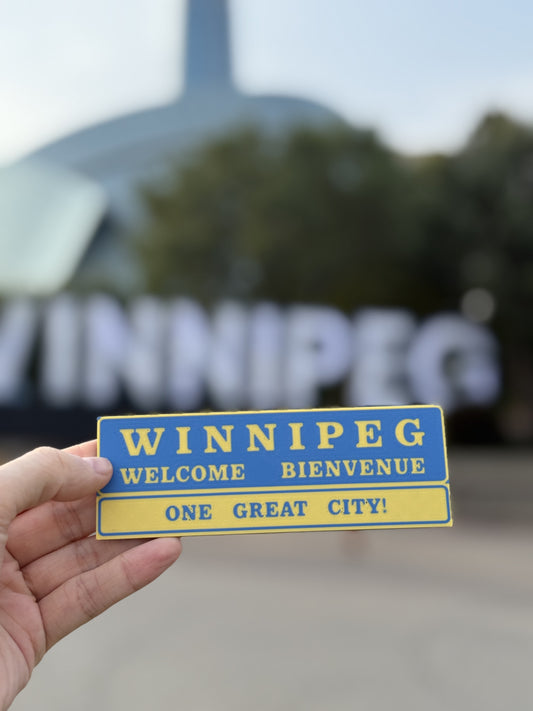
Winnipeg "One Great City" Magnet
Vendor:PrintsRegular price $7.99 CADRegular priceUnit price per -
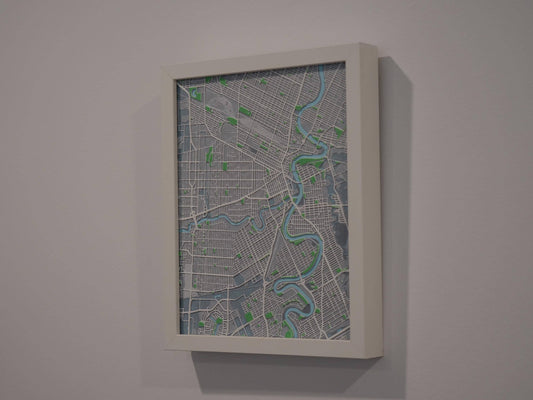
3D Winnipeg Street Map - Framed
Vendor:PrintsRegular price $49.99 CADRegular priceUnit price per$0.00 CADSale price $49.99 CAD -
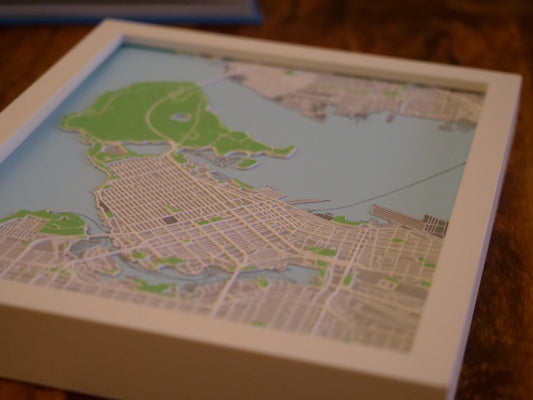
3D Vancouver Street Map - Framed
Vendor:Dotted LinesRegular price $54.99 CADRegular priceUnit price per